Troubleshooting common printer refill problems

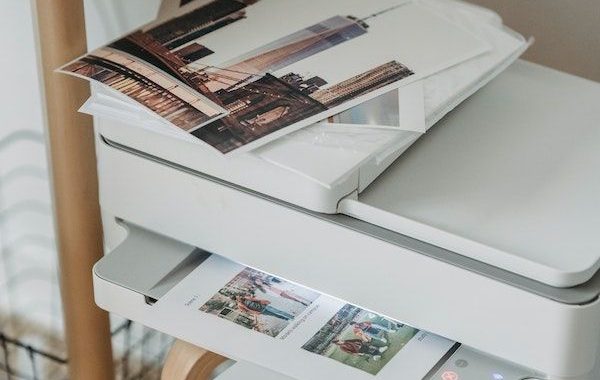
When troubleshooting printer fill problems, you need to look out for certain things that may be causing your prints to be of poor quality. The most common problem is an empty or low ink cartridge. In this case, check the ink meter and refill or replace the cartridge if necessary. If the printer is not properly filled - or if the nozzle is clogged - your prints may be blurred or faded. In this case, clean the nozzle with a lint-free cloth and try a test print from the printer settings menu. If the print lines don't match, it's likely that there is debris on the print head. To fix this problem, you will need to use a canned air vacuum cleaner or an alcohol swab to clean the print head.

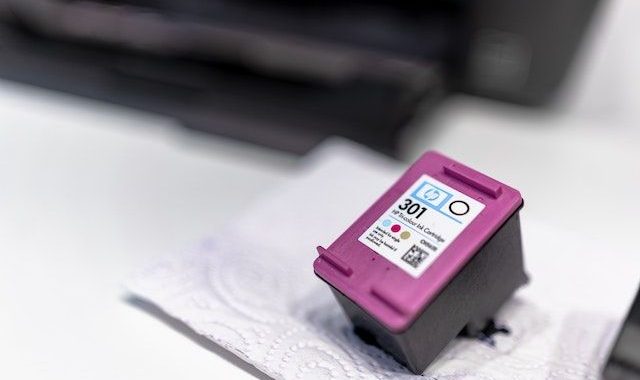
Another potential problem is low-quality fountain ink, which may have been improperly mixed, expired or contain contaminants. To ensure that you are using high quality consumables, buy from reputable sources and check the expiry date before you buy. Low-quality ink can also damage your printer, so it is important to use only reliable and high-quality products.

Finally, if you have other problems with your printer, see the User Guide for specific instructions on how to fix the problem. If this does not help, please contact the manufacturer's customer service for further assistance. It is also advisable to keep the printer clean and free of dust, as this can affect the quality of your prints. With proper maintenance and troubleshooting, you should achieve excellent results.

Preparing the printer for cartridge replacement

If you are ready to refill or replace your printer cartridge, you first need to prepare your printer. Depending on the type of cartridge you are using, there are several things you will need to do to get started.

When using inkjet printers, we recommend switching off and disconnecting the device from the mains before starting work. Be sure to open the access cover and find an empty cartridge. If you are using a refill kit, you will need to remove the old cartridge and replace it with the new cartridge that came with the kit. Once you have done this, connect the printer and switch it back on.

For laser printers, you will need to open the access cover, find an empty cartridge and remove it. Once you have removed the old cartridge, you can put the new cartridge back in place. Be sure to press firmly to make sure the cartridge is securely attached. Once you have done this, close the printer and plug it back in.

Make sure you read all the instructions carefully before you start to ensure a successful exchange. With proper preparation and care, you can easily extend the life of your printer cartridges.

Another tip - always make sure you have extra cartridges. That way, if you ever run out of ink while printing, you won't have to find solutions. Having extra cartridges is a simple and effective solution to avoid unnecessary stress and delays.

It is also important that the printer is clean and dust-free. Dust build-up can cause the printer to clog up, leading to poor print quality. Wiping your printer regularly with a soft cloth will help keep it in good condition for many years.

By following these tips and preparing your printer properly before refilling or replacing the cartridge, you can ensure that your printer continues to run smoothly and produce excellent quality prints.