
Šiame tinklaraštyje siekiame ne tik informuoti apie naujausius technologinius pasiekimus, bet ir padėti jums geriau suprasti, kaip efektyviai panaudoti jau turimas technologijas. Nuo praktinių patarimų, kaip prailginti baterijos veikimo laiką, iki išsamių apžvalgų apie naujausius dirbtinio intelekto pasiekimus – čia rasite viską, ko reikia šiuolaikiniam technologijų entuziastui.
- Updating in-car navigation (7)
- Repair of vacuum cleaners (8)
- E-scooter repair, news (10)
- Repair of power tools (1)
- Fotoaparatų, objektyvų, vaizdo kamerų remontas (7)
- Coffee machine repair, news (7)
- Computer repair, news (258)
- Konsolių XBOX, PlayStation, Nintendo ir kitų remontas (9)
- Repair of rectifiers (6)
- Technologijos (85)
- TV repair, news (1)

Nešiojamojo kompiuterio jutiklinės plokštės neveikimo sprendimai
Kodėl staiga liautųsi veikti jutiklinis kilimėlis? Sėdi prie nešiojamojo kompiuterio, bando paslinkti pelės žymeklį, o…
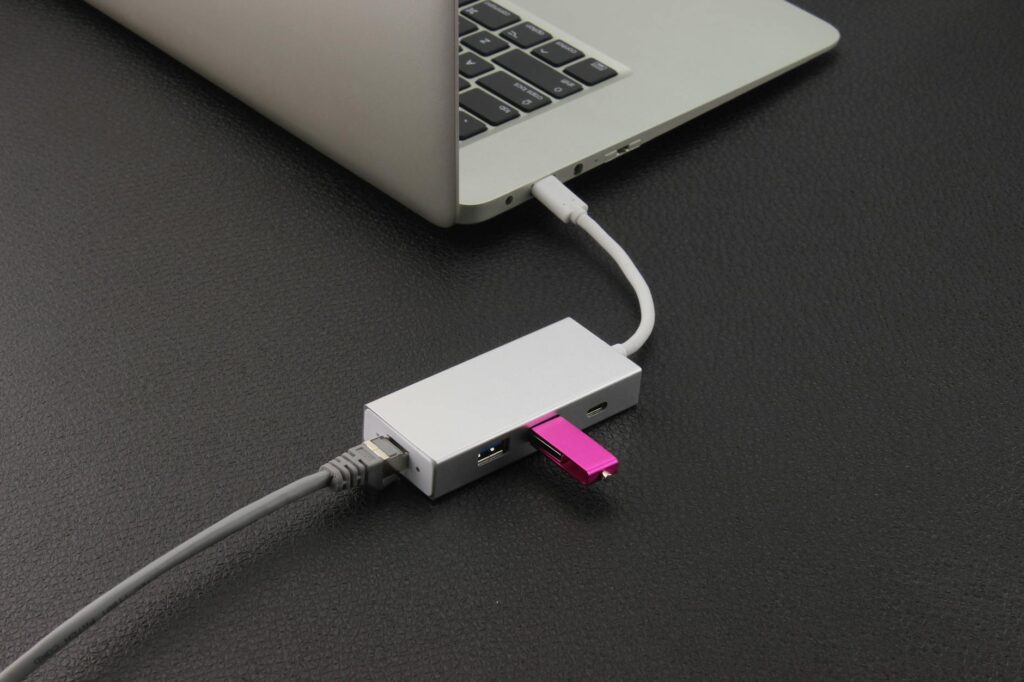
Kaip išsirinkti USB šakotuvą kompiuteriui?
Kodėl apskritai reikia USB šakotuvų nešiojamiesiems kompiuteriams? Prisimenu, kaip prieš kelerius metus nusipirkau naują ultrabook’ą…
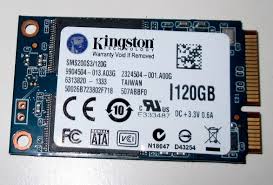
Kaip padidinti PS5 SSD atmintį?
Kodėl PS5 atmintis baigiasi taip greitai? Kai 2020 metais į rinką atėjo PlayStation 5, daugelis…
Kaip pakeisti nešiojamo kompiuterio baterijos celę?
Kodėl verta keisti baterijos celes pačiam Nešiojamo kompiuterio baterija – tai viena iš tų dalių,…
PlayStation 5 ir Xbox Series X – kuri konsolė geresnė?
Amžinasis konsolių karas: naujas raundas Kai 2020 metų pabaigoje Sony ir Microsoft pristatė savo naujausios…
Kaip išsirinkti išmanųjį espresso aparatą?
Kodėl išmanusis espresso aparatas – tai ne tik madinga pramoga Prieš kelerius metus kavos aparatai…