
Šiame tinklaraštyje siekiame ne tik informuoti apie naujausius technologinius pasiekimus, bet ir padėti jums geriau suprasti, kaip efektyviai panaudoti jau turimas technologijas. Nuo praktinių patarimų, kaip prailginti baterijos veikimo laiką, iki išsamių apžvalgų apie naujausius dirbtinio intelekto pasiekimus – čia rasite viską, ko reikia šiuolaikiniam technologijų entuziastui.
- Updating in-car navigation (7)
- Repair of vacuum cleaners (8)
- E-scooter repair, news (10)
- Repair of power tools (1)
- Fotoaparatų, objektyvų, vaizdo kamerų remontas (7)
- Coffee machine repair, news (7)
- Computer repair, news (257)
- Konsolių XBOX, PlayStation, Nintendo ir kitų remontas (9)
- Repair of rectifiers (6)
- Technologijos (85)
- TV repair, news (1)

MacBook Air ir MacBook Pro – kurį rinktis?
Amžinas dilema: lengvumas ar galia? Stovite parduotuvėje ar naršote internete, žiūrite į du sidabrinius (arba…
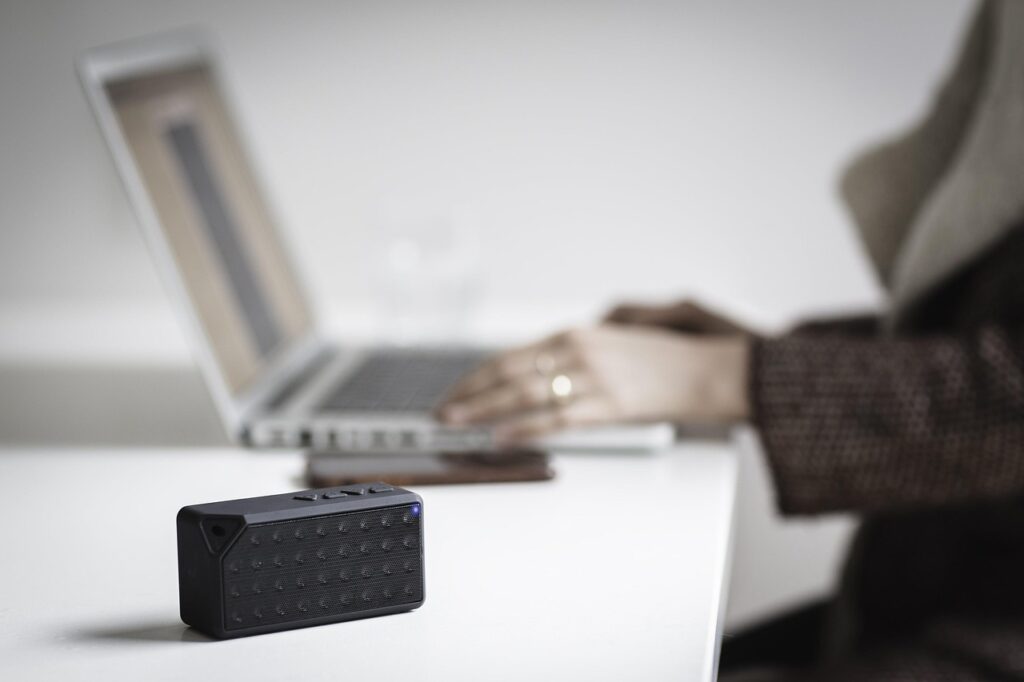
Geriausi nešiojamieji „Bluetooth“ garsiakalbiai „Bosui“
Kodėl bosas yra svarbus nešiojamuose garsiakalbių Kai perki nešiojamą Bluetooth garsiakalbį, vienas iš svarbiausių dalykų,…
Kaip išsirinkti UPS kompiuteriui?
Kodėl apskritai reikia UPS kompiuteriui? Turbūt daugelis esame patyrę tą nemalonų jausmą, kai intensyviai dirbant…
Nešiojamojo kompiuterio ventiliatoriaus triukšmo taisymas
Kodėl nešiojamasis kompiuteris staiga tapo lėktuvu Sėdi sau ramiai, dirbi prie kompiuterio, ir staiga –…
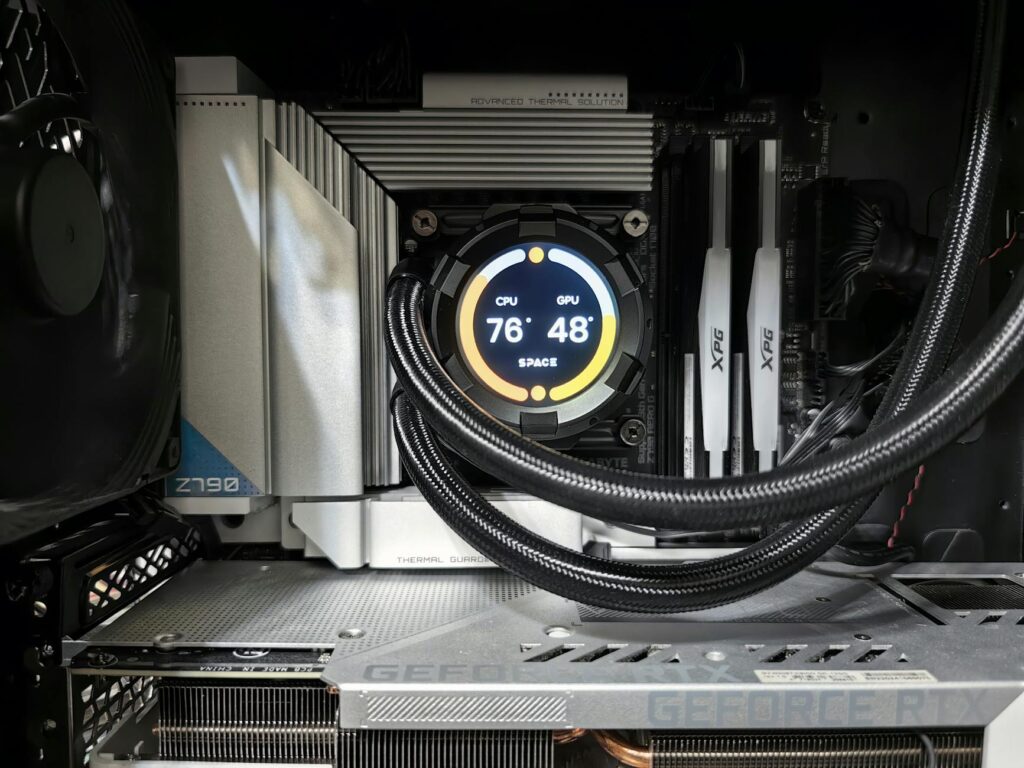
GPU ir CPU rendering – kuo skiriasi?
Kas iš tiesų vyksta, kai kompiuteris kuria vaizdą Kai žiūrime į nuostabius filmų specialiuosius efektus…
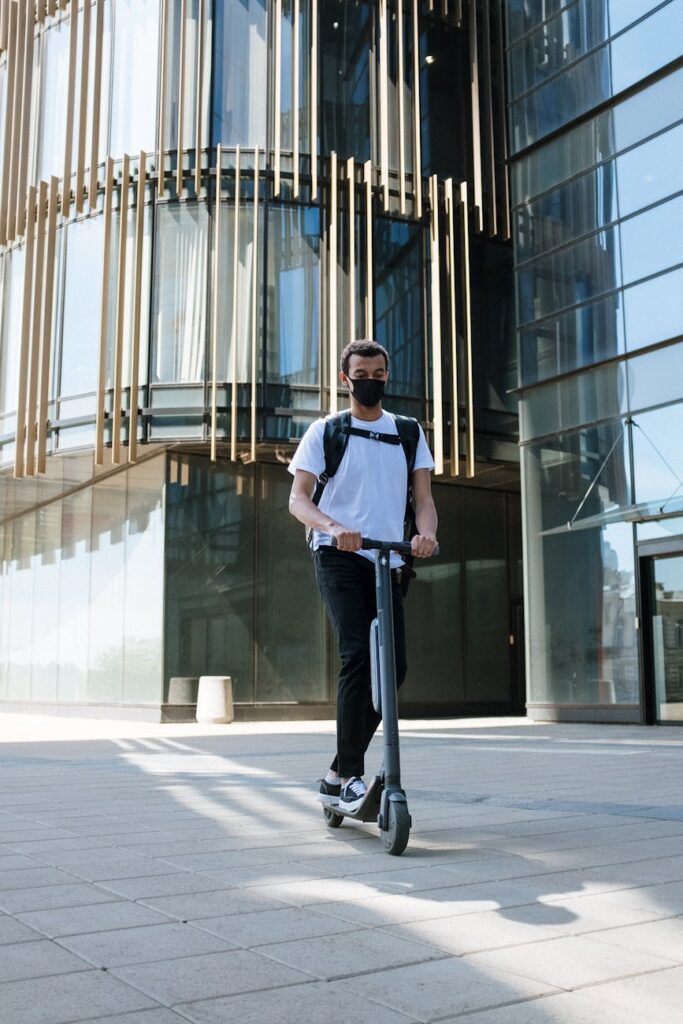
Kaip išsirinkti elektrinį paspirtuką miestui?
Kodėl elektrinis paspirtukas tapo miesto gyventojo geriausiu draugu Prisimenu, kaip prieš keletą metų žiūrėjau į…